
How to build a content OS with Claude Code or Codex that takes each video from render to posted
Build a content OS on Claude Code or Codex where your agent uploads renders, drafts posts and acts on review comments, and your team approves what ships.
Updated
Finish the half of your content OS that comes after the render
You have a folder that runs your content, a content OS you built yourself. A CLAUDE.md or AGENTS.md describes your brand, a few skills write scripts and captions, and a script turns raw footage into reels. Claude Code or Codex runs all of it. The part that never got built is everything after the render: the files sit in outputs/, and getting them in front of your editor, past your client and onto Instagram still means dragging them around by hand.
Clipflow can take over that half. Your agent keeps doing the creative work on your machine. It uploads each render to the right project, drafts the post with the video attached, and reads the comments your team leaves on it. Your team reviews in Clipflow, and Clipflow schedules and publishes once someone marks the post Ready.
This guide takes about 30 minutes. By the end, one prompt takes a finished render all the way to a draft post waiting for review.
| Your agent, on your machine | Clipflow |
|---|---|
| Writes scripts, captions and hooks from your rules | Stores every render and version in its project |
| Cuts, renders and exports the video | Holds the review: comments pinned to timestamps, approvals, share links for clients |
| Uploads the render and drafts the post | Keeps the content calendar and your channels’ time slots |
| Runs when you start it | Runs automations on its own, such as drafting posts when a video is approved |
| Reads feedback and makes the next version | Publishes the post once someone marks it Ready |
Before you start
- Claude Code or Codex installed, and a folder you already run it in.
- Node.js 20 or later, for the Clipflow CLI.
- A Clipflow account in the organization your content belongs to, with a project to upload into. Any project works for the first run.
- The Write access level in that organization. An organization admin sets it under Organization settings → API & Connected Apps. See Let the connection make changes.
Step 1: Connect the Clipflow MCP server
The MCP server is how your agent finds projects, drafts posts and reads feedback.
Claude Code: add the server, then sign in from inside a session.
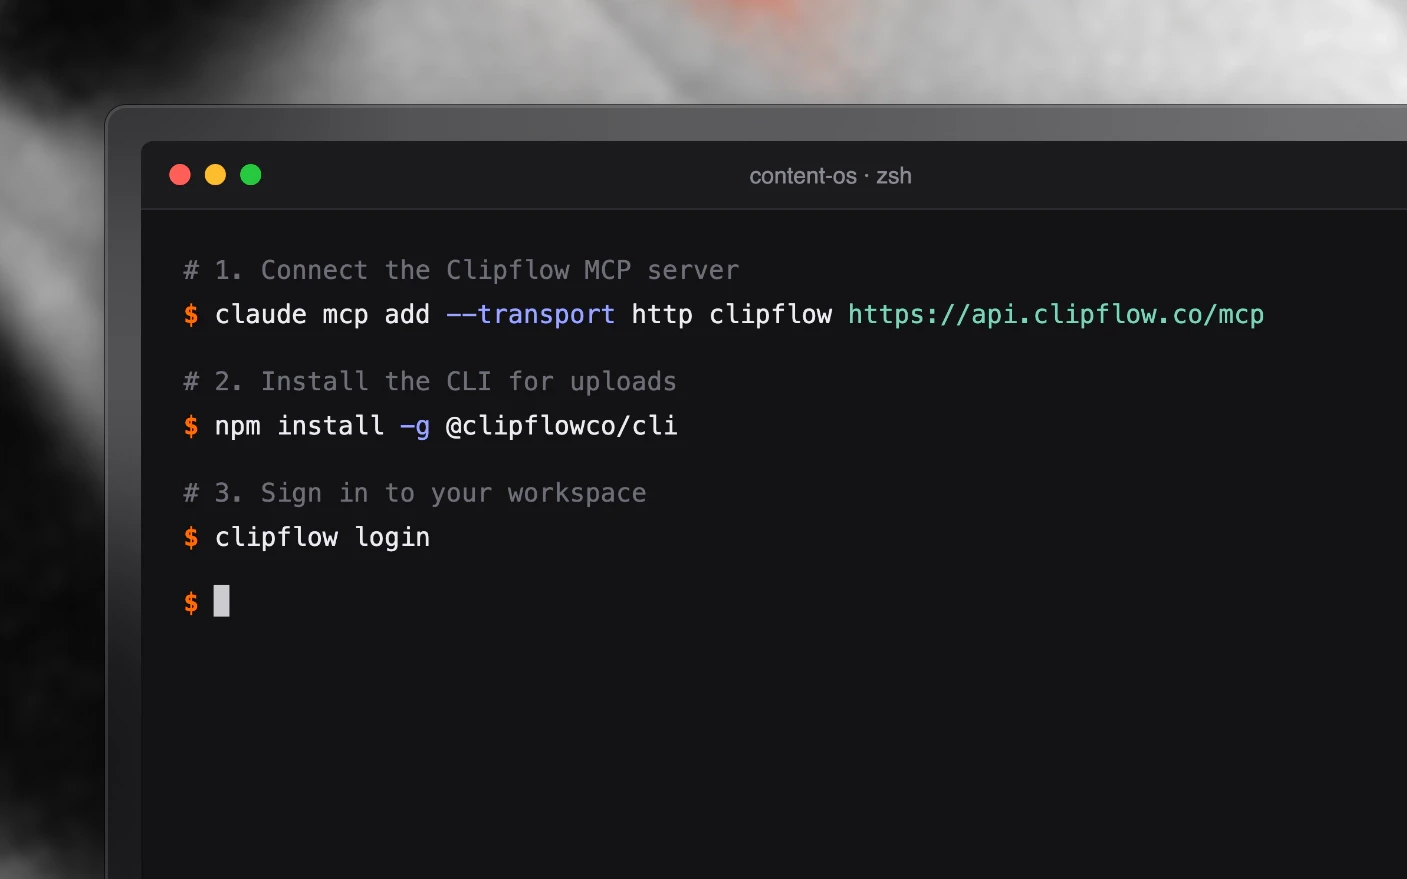
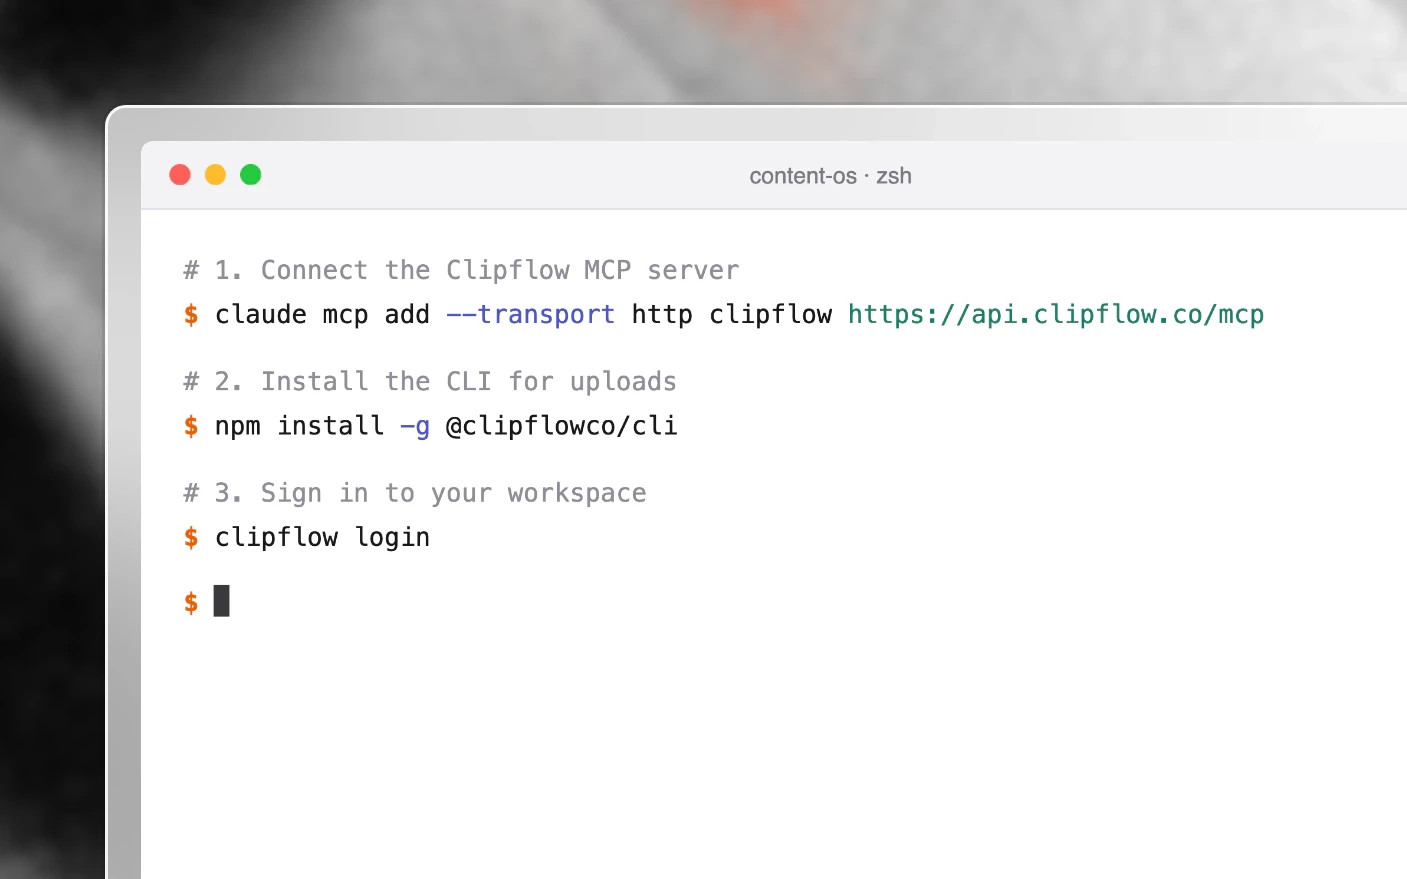
claude mcp add --transport http clipflow https://api.clipflow.co/mcpStart Claude Code, run /mcp, select clipflow and choose to authenticate.
Codex: add the server, then sign in.
codex mcp add clipflow --url https://api.clipflow.co/mcp
codex mcp login clipflow
Either way, your browser opens Clipflow. Sign in, tick the organizations the agent can reach, and approve. A new connection reads only. To let it draft posts, an admin ticks the write permissions for it under Connected Apps → Permissions, as described in Let the connection make changes. Tick the comments permission too, or feedback will not come back in Step 6.
To check it worked, ask your agent: “Use Clipflow to list my organizations.”
Step 2: Install the CLI for uploads
MCP tools pass text back and forth, so they are a poor way to move a 2 GB video. The Clipflow CLI uploads from your disk, picks up where it left off if the connection drops, and skips files the project already has.
npm install -g @clipflowco/cli
clipflow login
If you would rather not install anything globally, npx -y @clipflowco/cli runs the same commands. The CLI is Clipflow’s own app, so it signs in with write permissions included, and uploads only need your Write access level.
Check it with:
clipflow call whoamiStep 3: Tell your agent how you use Clipflow
Your agent reads CLAUDE.md (Claude Code) or AGENTS.md (Codex) before every task. Add a section that says where finished work goes, so you never have to explain it in a prompt. Paste this and fill in the brackets:
## Clipflow

Clipflow holds our media, reviews and posts. Work in the [organization name]
organization unless I say otherwise. Our channels are [Instagram and YouTube].

- Finished renders go to Clipflow, not a shared drive. Find the project with
  list_projects first. If there isn't one, ask me before creating it.
- Upload with `clipflow upload <file> --subject <project_id> --media-type edited_video --detach`,
  then check it with `clipflow status <job>`. Raw footage uses `--media-type raw_video`.
- Name new versions of a render with a suffix (-v2, -v3) so the old one stays
  for comparison.
- Draft posts with create_post, with the uploaded media file in item_ids. Leave
  scheduled_date empty unless I give you a date.
- update_post replaces the whole item_ids list, so read the post with get_post
  first and keep the items I didn't ask you to change.
- Before making a new version, read the review comments on the last one with
  get_media_file. Each comment has a timestamp.
- Read every post back with get_post before telling me it's done, and give me
  its Clipflow link.
If your setup uses skills, the same rules work as a skill file, so they load only when the task involves Clipflow. Add the caption rules your other skills already follow (tone, banned words, no hashtags) so drafts arrive in your voice.
Step 4: Send your first render
Pick a finished video and run:
Upload
outputs/[file name].mp4to the [project name] project in Clipflow. When it has finished, draft an Instagram Reel post with that video attached. Write the caption from the script in[path to script]. Then read the post back and give me the link.
Your agent looks up the project, uploads with the CLI, finds the channel and post type with channel_product_lookup, and creates the draft. Open the link and you should see the post in the project with the video attached, marked Draft.
If your pipeline also makes a thumbnail or carousel slides, ask for them in the same prompt. The agent uploads them too and puts them in the post’s item_ids in order: the video first and then the thumbnail, or the slides as 01, 02, 03.
Step 5: Let your team review in Clipflow
Nothing new is needed here. Your editor or co-founder opens the project, watches the video and leaves comments at the moments that need changing. See Media Review and Notifications.
For someone outside your team, ask the agent for a share link:
Make a share link on the [project name] project for the [file name] video and its post, so [client name] can review it without signing in. Give me the link.
The agent calls create_share_link and hands back a public URL. Comments left through it land on the same video and post your team sees. See Share Links.
Step 6: Turn feedback into the next version
When comments are in, send your agent back to them:
Read the review comments on the latest version of [file name] in Clipflow. List each one with its timestamp and what you plan to change, and wait for my OK. Then make the changes, render it as -v2, upload it to the same project and swap it onto the post in place of v1.
The agent reads the comments with get_media_file, makes the edit with whatever your setup already uses, uploads the new version and points the post at it with update_post. Version 1 stays in the project, so your reviewer can compare the two.
Repeat until the video is approved. Someone on your team then marks the post Ready. On a channel with time slots, Clipflow gives it the next open slot and publishes it. Your agent cannot mark a post Ready, publish it, or delete anything, so the last decision always stays with a person.
Let Clipflow take the work that happens every time
Your content OS only runs when you start it, on a machine that is awake. Some of its jobs never needed your files or your skills. They only need to happen whenever something changes in Clipflow: a video gets approved, a transcript finishes, someone leaves a comment. Those jobs belong in automations, which run inside Clipflow with your laptop closed.
| When this happens in Clipflow | Clipflow can | So your content OS no longer has to |
|---|---|---|
| A video is approved | Draft a post for each channel and post type, with the video attached. The Draft social posts automation does this as soon as you connect your first channel | Draft posts at all. Your agent uploads, and the drafts appear once the video passes review |
| A transcript finishes | Run an agent that writes hook options or a summary and leaves it as a comment | Read every transcript to start the packaging |
| A file is added or a comment is posted | Run an agent with your instruction, such as reading the project or drafting a post for one platform | Watch the project for changes |
| A post is marked Ready | Give it the next open time slot on its channel and publish it | Pick dates or post anything |
Reviewers can also mention an AI agent in a comment, such as “@Caption drafter make this shorter for TikTok”. The agent replies in the thread, so a small fix can get done without a new run of your content OS.
A simple way to split the work: anything that needs your files, your editing tools or the skills in your folder stays in your content OS. Anything that should happen the same way every time, triggered by something in Clipflow, moves to an automation. Write the instruction once on the automation, and it runs for every video, including the ones your editor uploads without your agent.
Run your own jobs on a timer
For work that should stay in your content OS but run without you, call the CLI from a script or a scheduled job. Set CLIPFLOW_TOKEN to an access token instead of running clipflow login. Uploading the same folder again only sends new files, so it is safe to run on a timer:
clipflow upload ~/Footage/Shoot-12 --subject [folder_id] --media-type raw_video --recursiveTroubleshooting
Not logged infrom the CLI. Runclipflow loginagain. The CLI and the MCP connection sign in separately, so one can work while the other has expired.- The agent says it is not allowed to create a post. Your access level is still Read, or the MCP connection has no write permissions. See Let the connection make changes.
- No comments come back. The connection needs the comments permission. An admin ticks it under Connected Apps → Permissions, and you approve the consent screen again.
- The upload says the file was skipped. A file with the same contents is already in that project. Render the new version under a new name, or pass
--allow-duplicatesif you really want a second copy. - The agent cannot change a post. Posts that are Ready or Done are locked. Ask someone on your team to move it back, or have the agent draft a new one.
- A YouTube post has the wrong title. Some post types take the project’s title when the post is created. Ask the agent to set the title with
update_postand read it back.
Frequently asked questions
Do I need both the MCP server and the CLI?
Claude Code uses both: the MCP server for projects, posts and comments, and the CLI for uploads. An agent that runs shell commands, such as Codex, can use the CLI for everything, because clipflow call reaches every MCP tool.
Should my agent or an automation draft the posts?
Use the automation when every approved video should get the same set of posts. Use your agent when a post needs something only your content OS has, such as the script file, a caption skill, or a thumbnail it rendered. Many setups use both: the automation drafts the standard posts and the agent handles the one-off ones.
Does my agent need to run on my computer?
It needs to run wherever the files are, since the CLI uploads from that disk. A server or a CI job works the same way, signed in with CLIPFLOW_TOKEN.
Can my agent publish a post?
No. It can draft posts and edit them until they are Ready. Marking a post Ready, which is the step that publishes it, happens in Clipflow.
Does my team need Claude Code or Codex?
No. Only the person running the agent connects it. Everyone else reviews, comments and schedules in Clipflow as usual.
Which file types can the CLI upload?
Video, audio, images and documents: .mp4 .mov .mp3 .wav .jpg .jpeg .png .gif .webp .pdf .doc .docx .xls .csv, up to 50 GB each. Videos become media files that can be reviewed and attached to posts. Everything else becomes a file in the project.
Related articles
- MCP Server: every tool, permission and client
- Set Up Your Assistant: the same idea for the Claude and ChatGPT apps
- Media Review and Notifications: how your team leaves feedback
- How Automations Work: triggers, conditions and actions
- Automation Recipes: ready-made automations to copy
Was this page helpful?
Related articles
MCP Server
Connect ChatGPT, Claude or another AI client to Clipflow with the MCP server to read your projects, find media, upload files, draft posts and manage design templates.
Webhooks
Send Clipflow events to your endpoint, verify webhook deliveries, and automate work when projects, media, posts, or tasks change.
Need more help with this?
Contact support